Overview of my process for these torqued, spinning, threaded pieces up to 2024.
I start each piece with a template. Each template is somehow related to the last piece I did. I often will be in the middle of making one piece and start to critique it, tweak it, and come up with the next form. Each one of my forms can be traced back to the first piece I've ever made. I consider the different bodies of work and form themes to be "generations". I look nothing like one of my great-great-great-etc grandparents, but we are still related.
First, roll out the slabs, leaving about 1/4-1/2" of extra clay around the edge to allow for shrinkage as they set up.

After I’m comfortable with the dryness of the slabs by holding it upright and it doesn’t buckle, I will cut the slab down to the exact contour of the template.
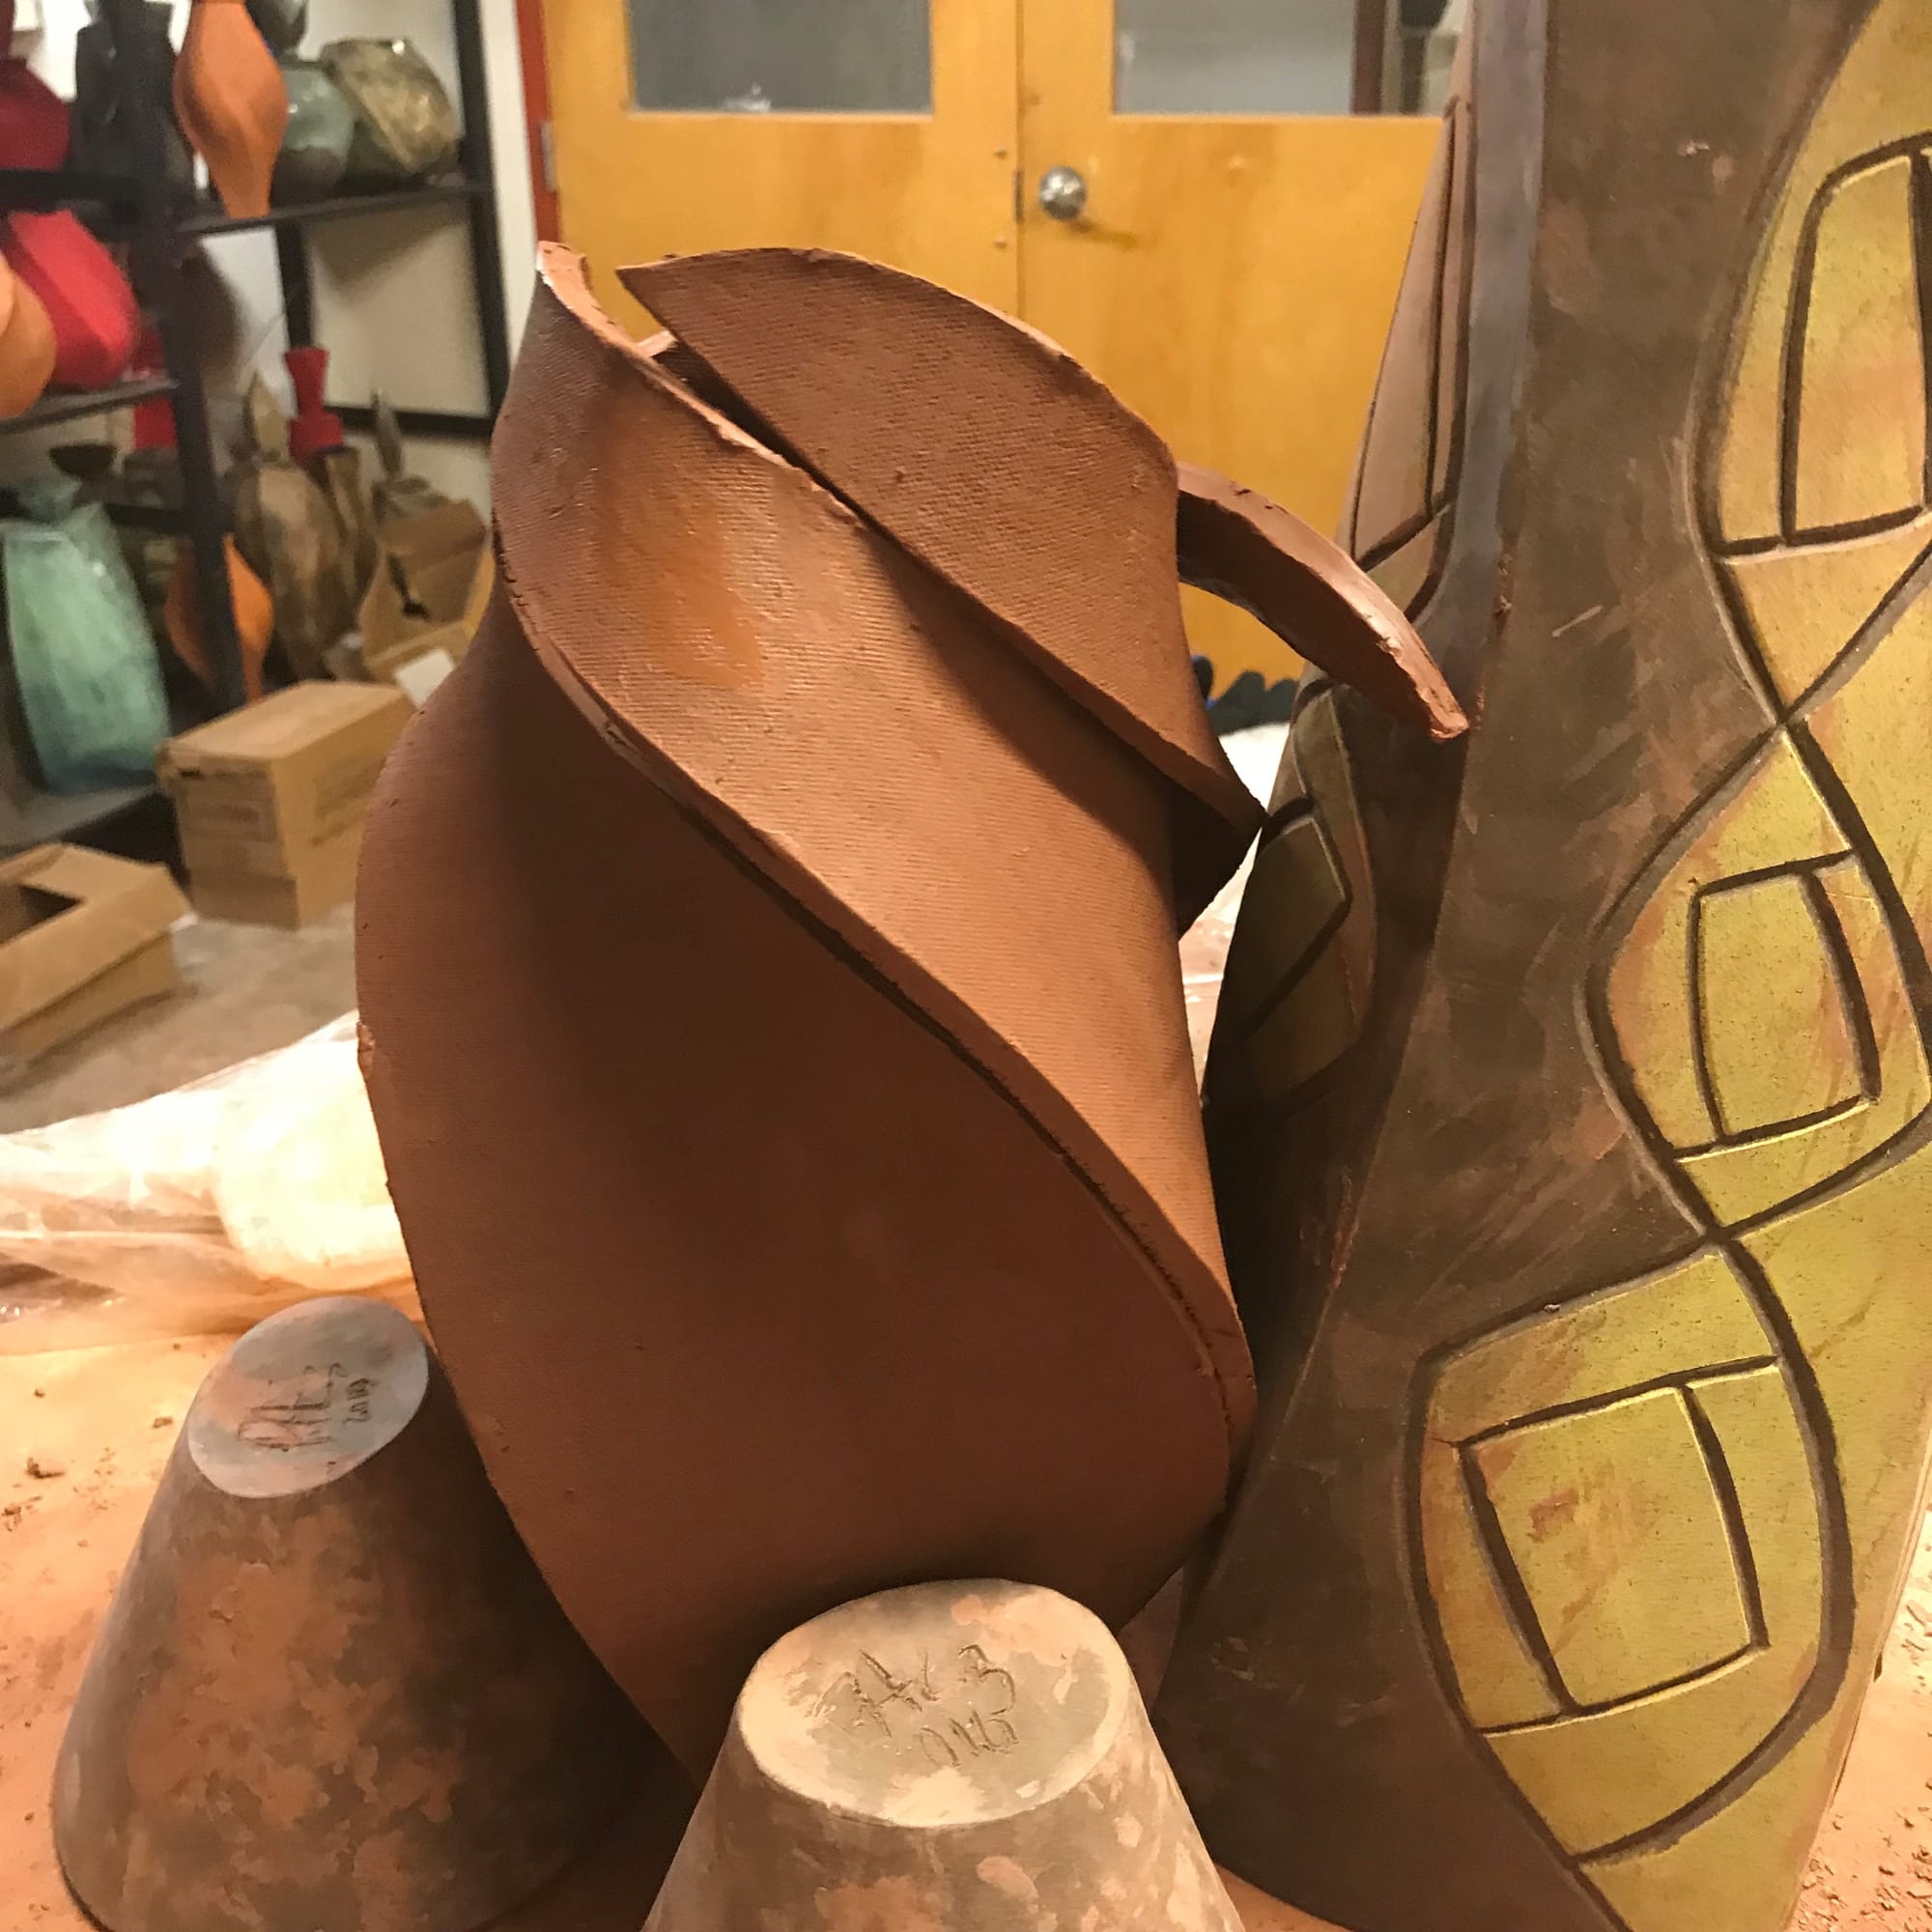
Next, I start to form. I begin by attaching the bottom of each slab, and only folding the top part of the slab. Notice the indent at the slab edge, halfway up. I have to start pushing in at this point because the twist in the form depends on it. I have to continue doing this on each side until I reach the next milestone. Until the next, I’m still not sure this form is going to work.
When I reach this point, I’m almost sure that I will be able to complete forming this piece, but not certain. Even at this point, it can be precarious. On cold days, I have to wear short sleeves to avoid catching a sleeve on a slab and pulling it out. The slabs are not really attached with slip because I need to be able to pull them apart, as I indent and pull out. At this point, I’ve probably spent 1-1.5 hours forming. It’s not fast. I need to take my time and let the clay rest, and harden a little in each position. I don’t like to use a blow dryer because I don’t feel I don’t like to spot dry a slab. That can cause problems when I’m trying to form, or with shrinkage. For me, it just won’t work.
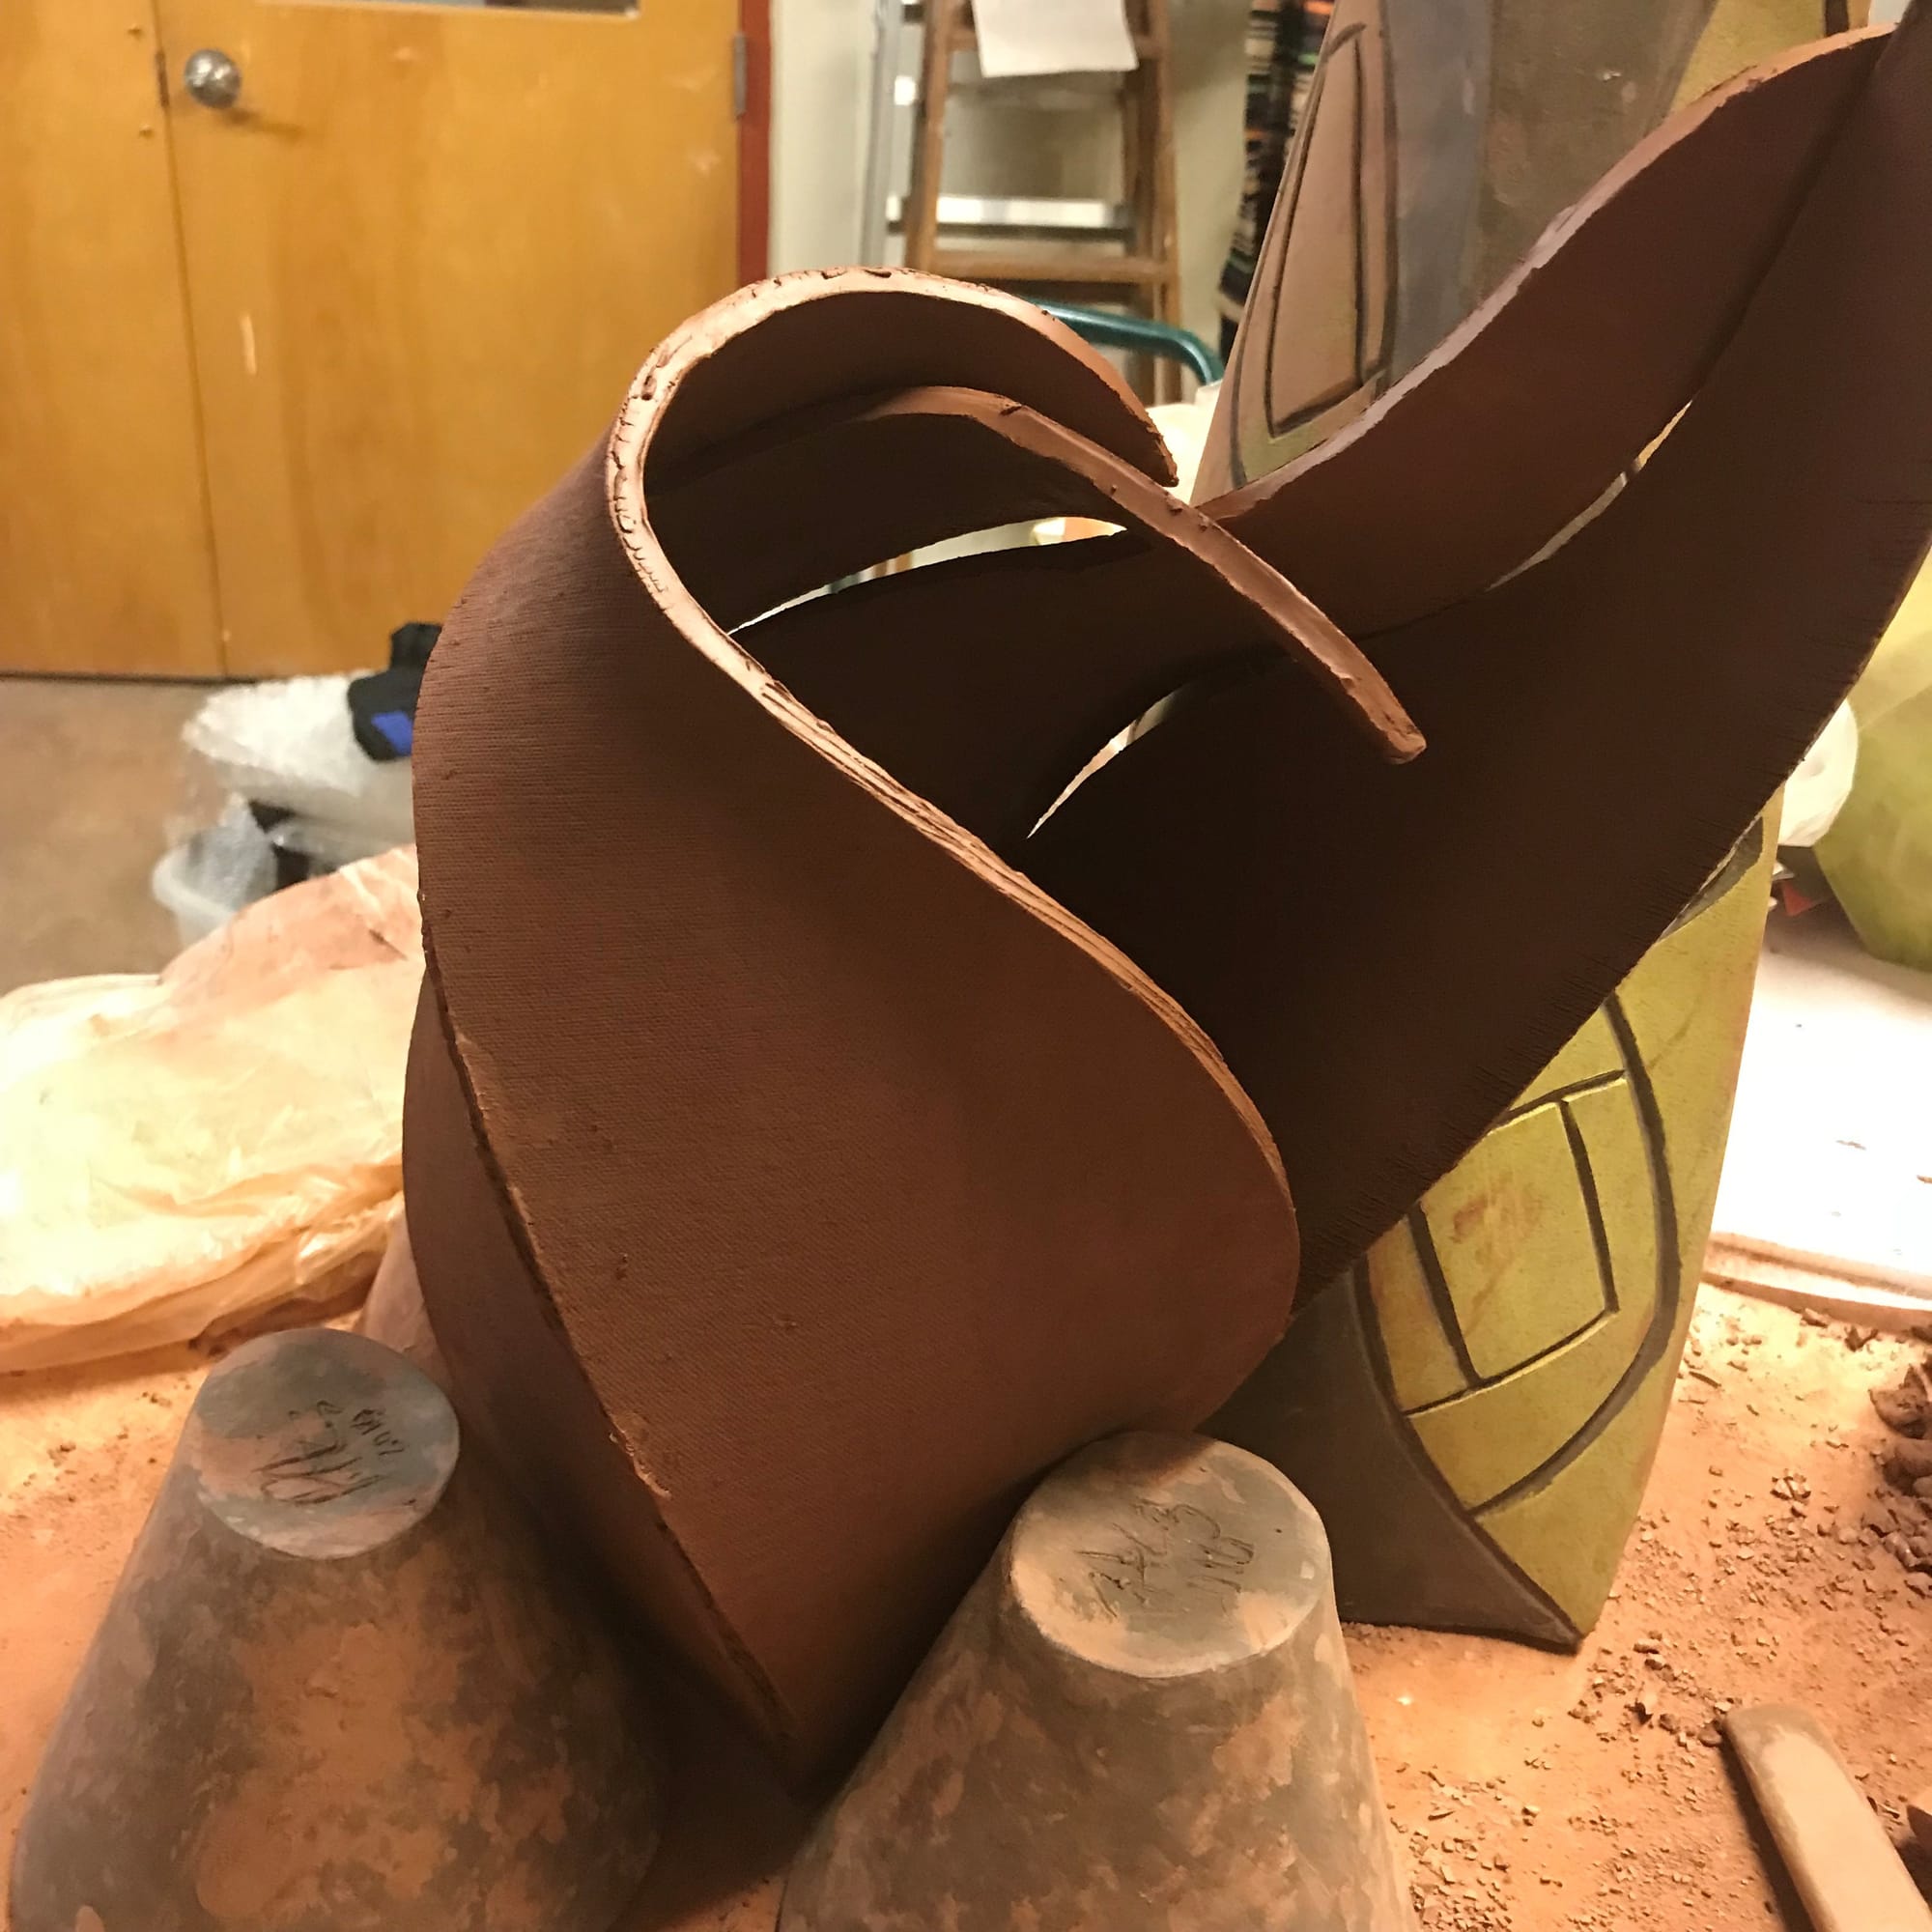
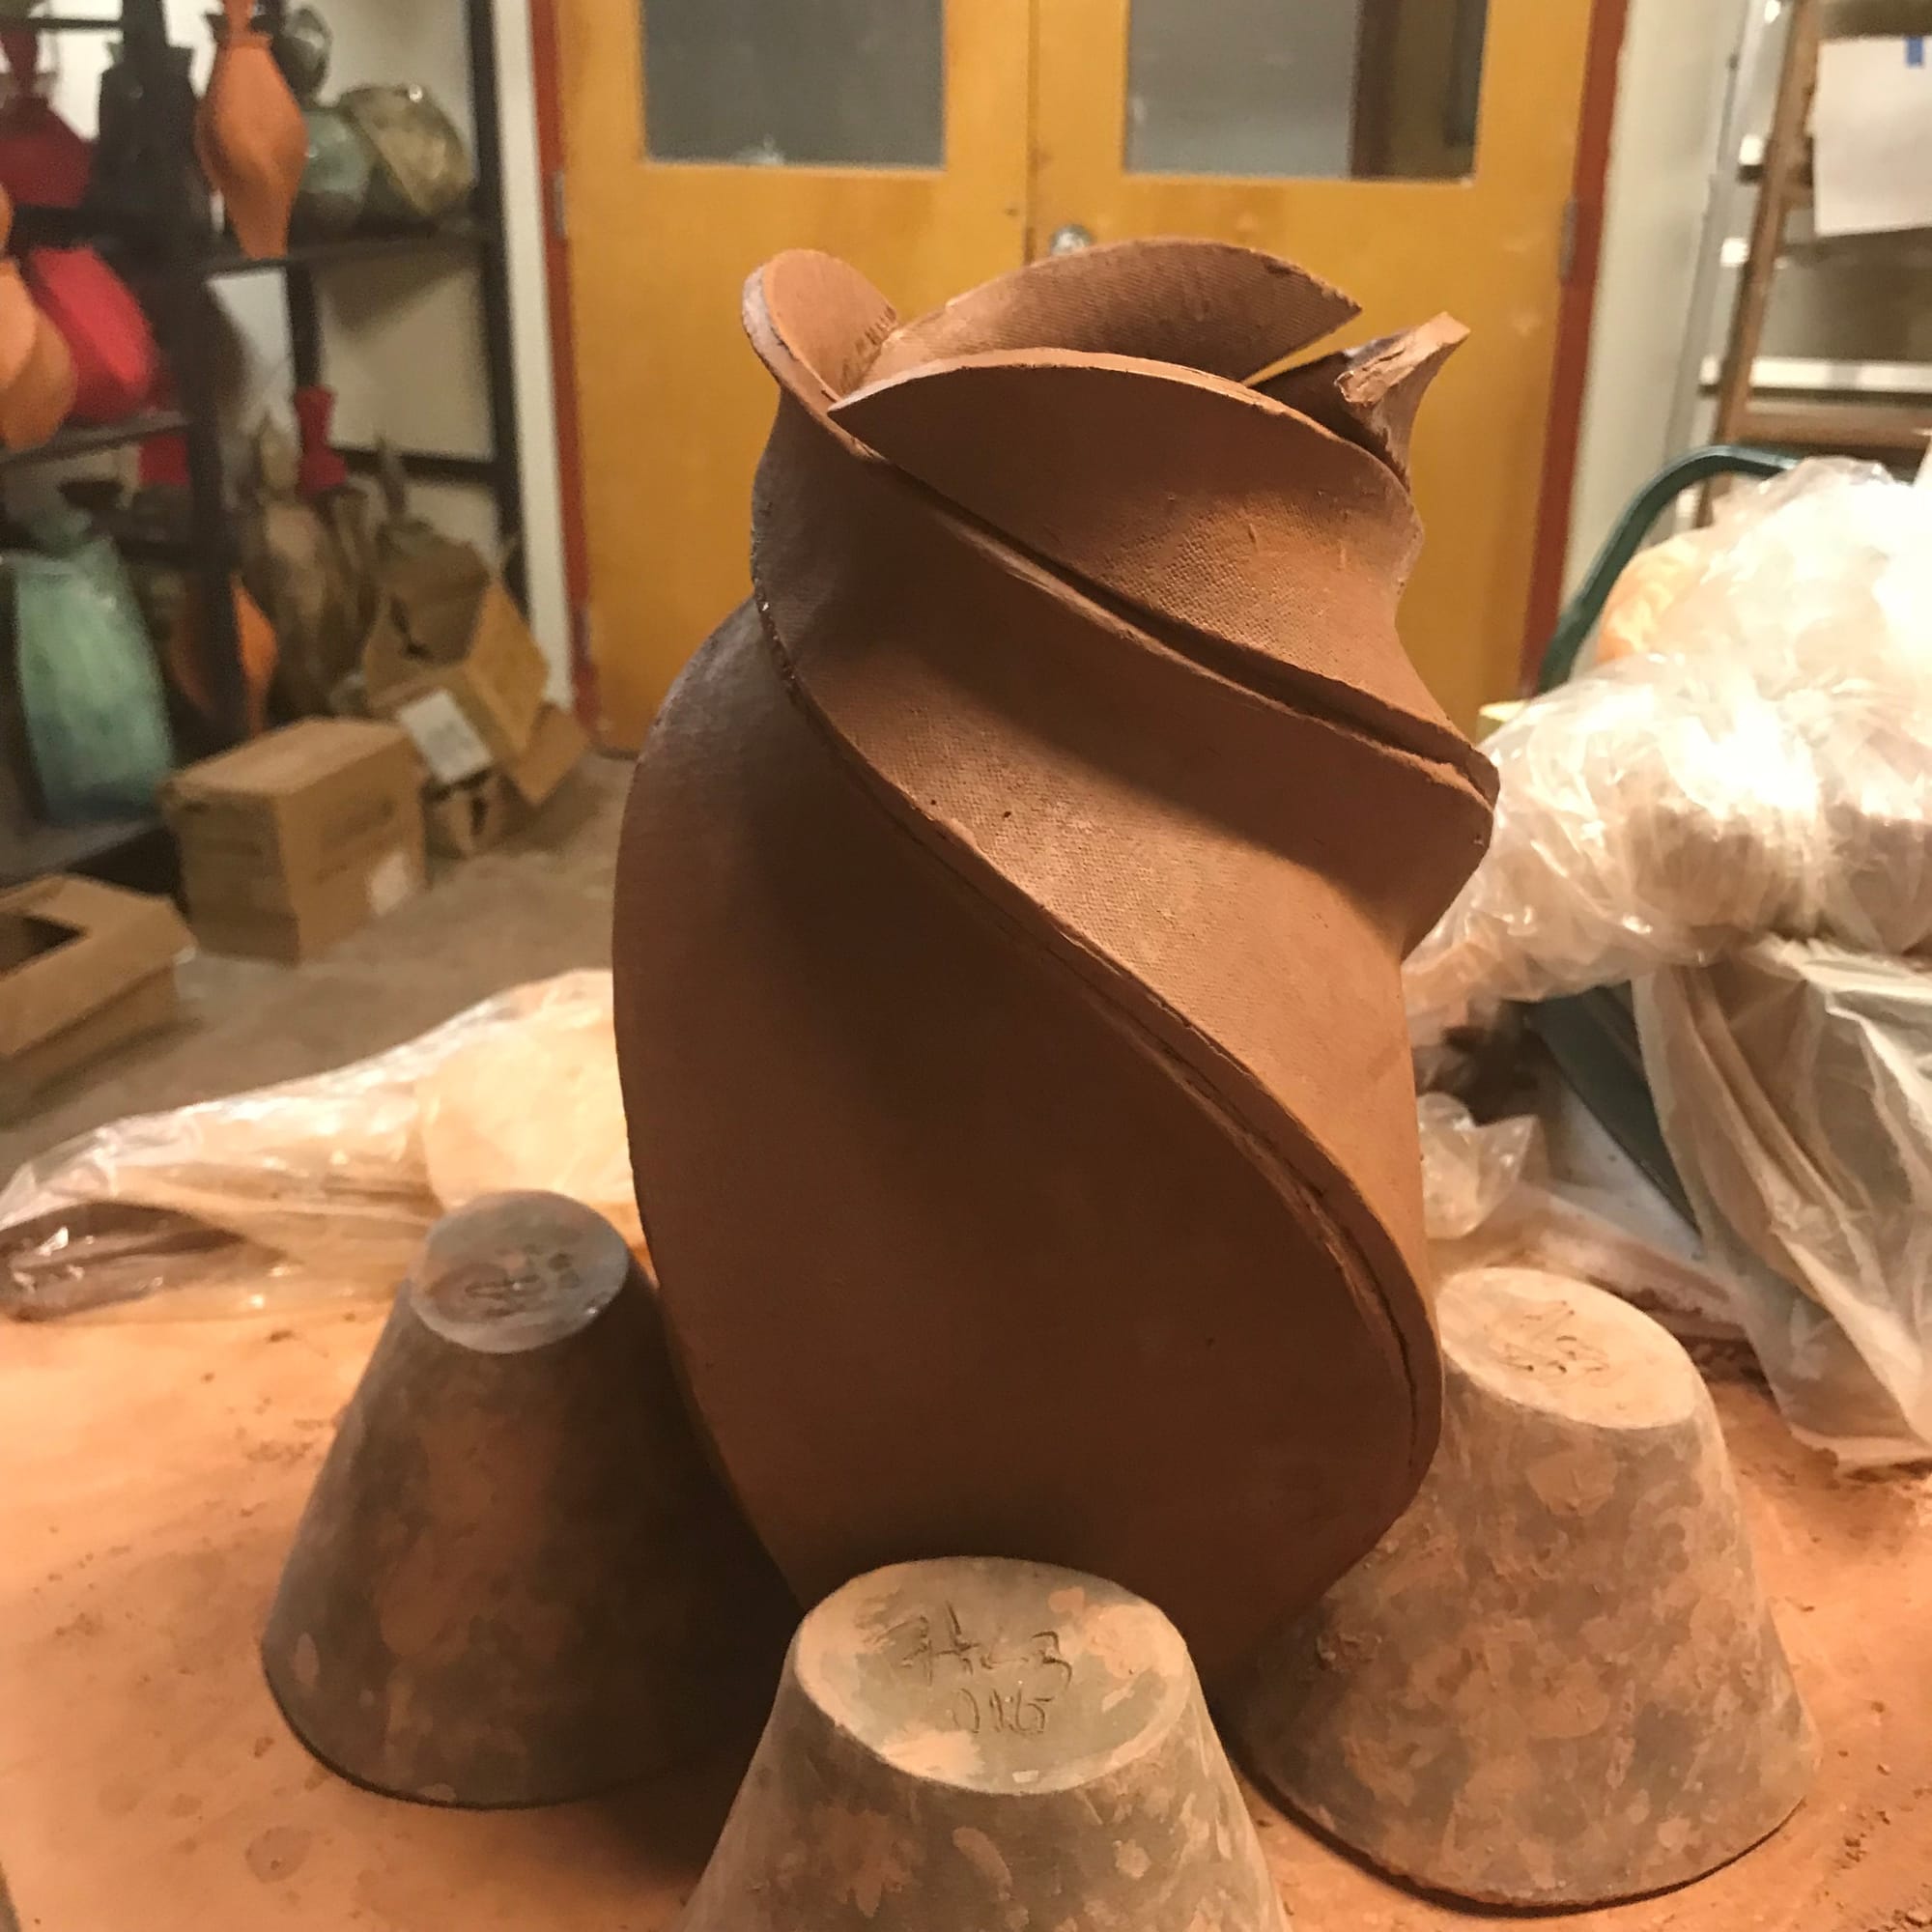
With this next photo, I begin to really get an idea of what the form will look like when finished. The slabs still aren’t attached, but they’re in a good position and I begin to have more confidence that this piece will be finished. It’s still a bit conical and will need further stretching, pulling, and pushing. I still have another 1.5-3 hours to go before this is finished.

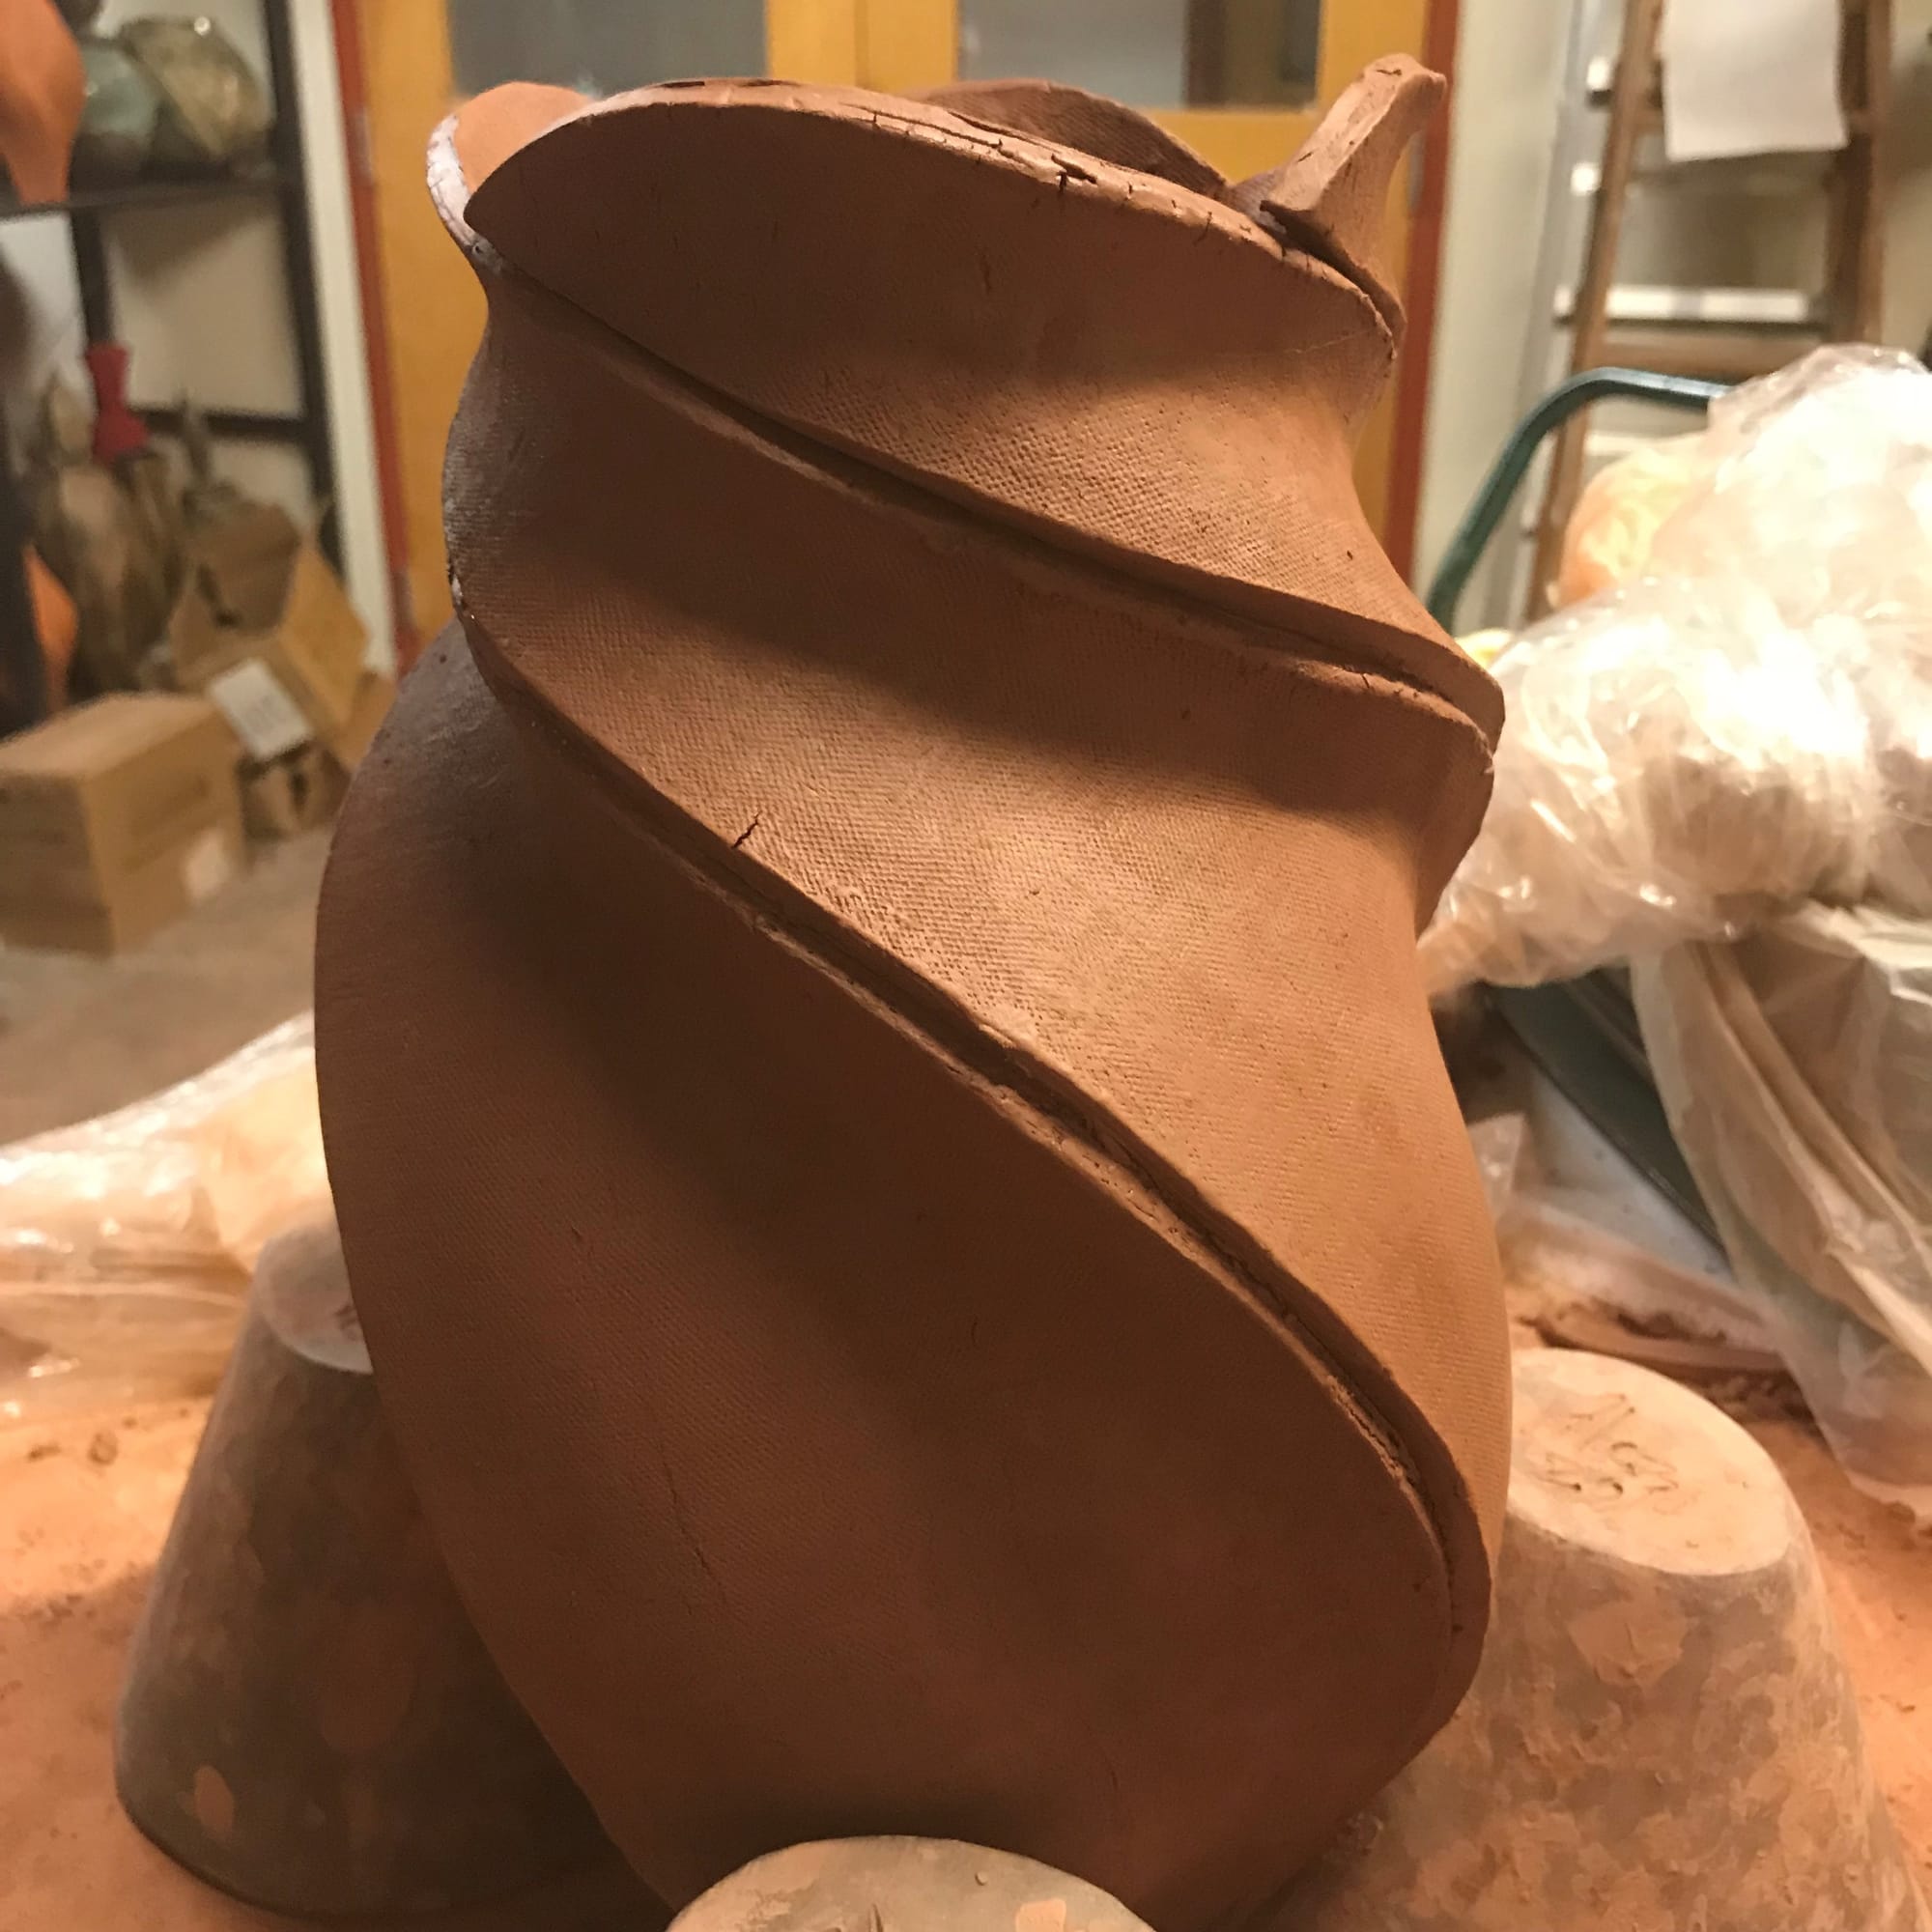
Finally, I have a really good idea of what this form is going to look like when it’s finished. Most of the slabs are attached. The lip will require a little more forming. For this piece, I’ve got about 4.25 hours in so far.
The top two thirds of the piece are pretty much formed. I will attach the lip. After this, I will concentrate on pulling out the bottom third so that it’s nicely round. After this point, I will usually put it aside and let it rest. I’ll start another piece and leave this one for the next day in the studio. Notice the cracks. These are mild. I often will have the clay completely split. I need the clay to get dryer and dryer as I build these pieces. I use a brush with water to moisten parts of the slab.
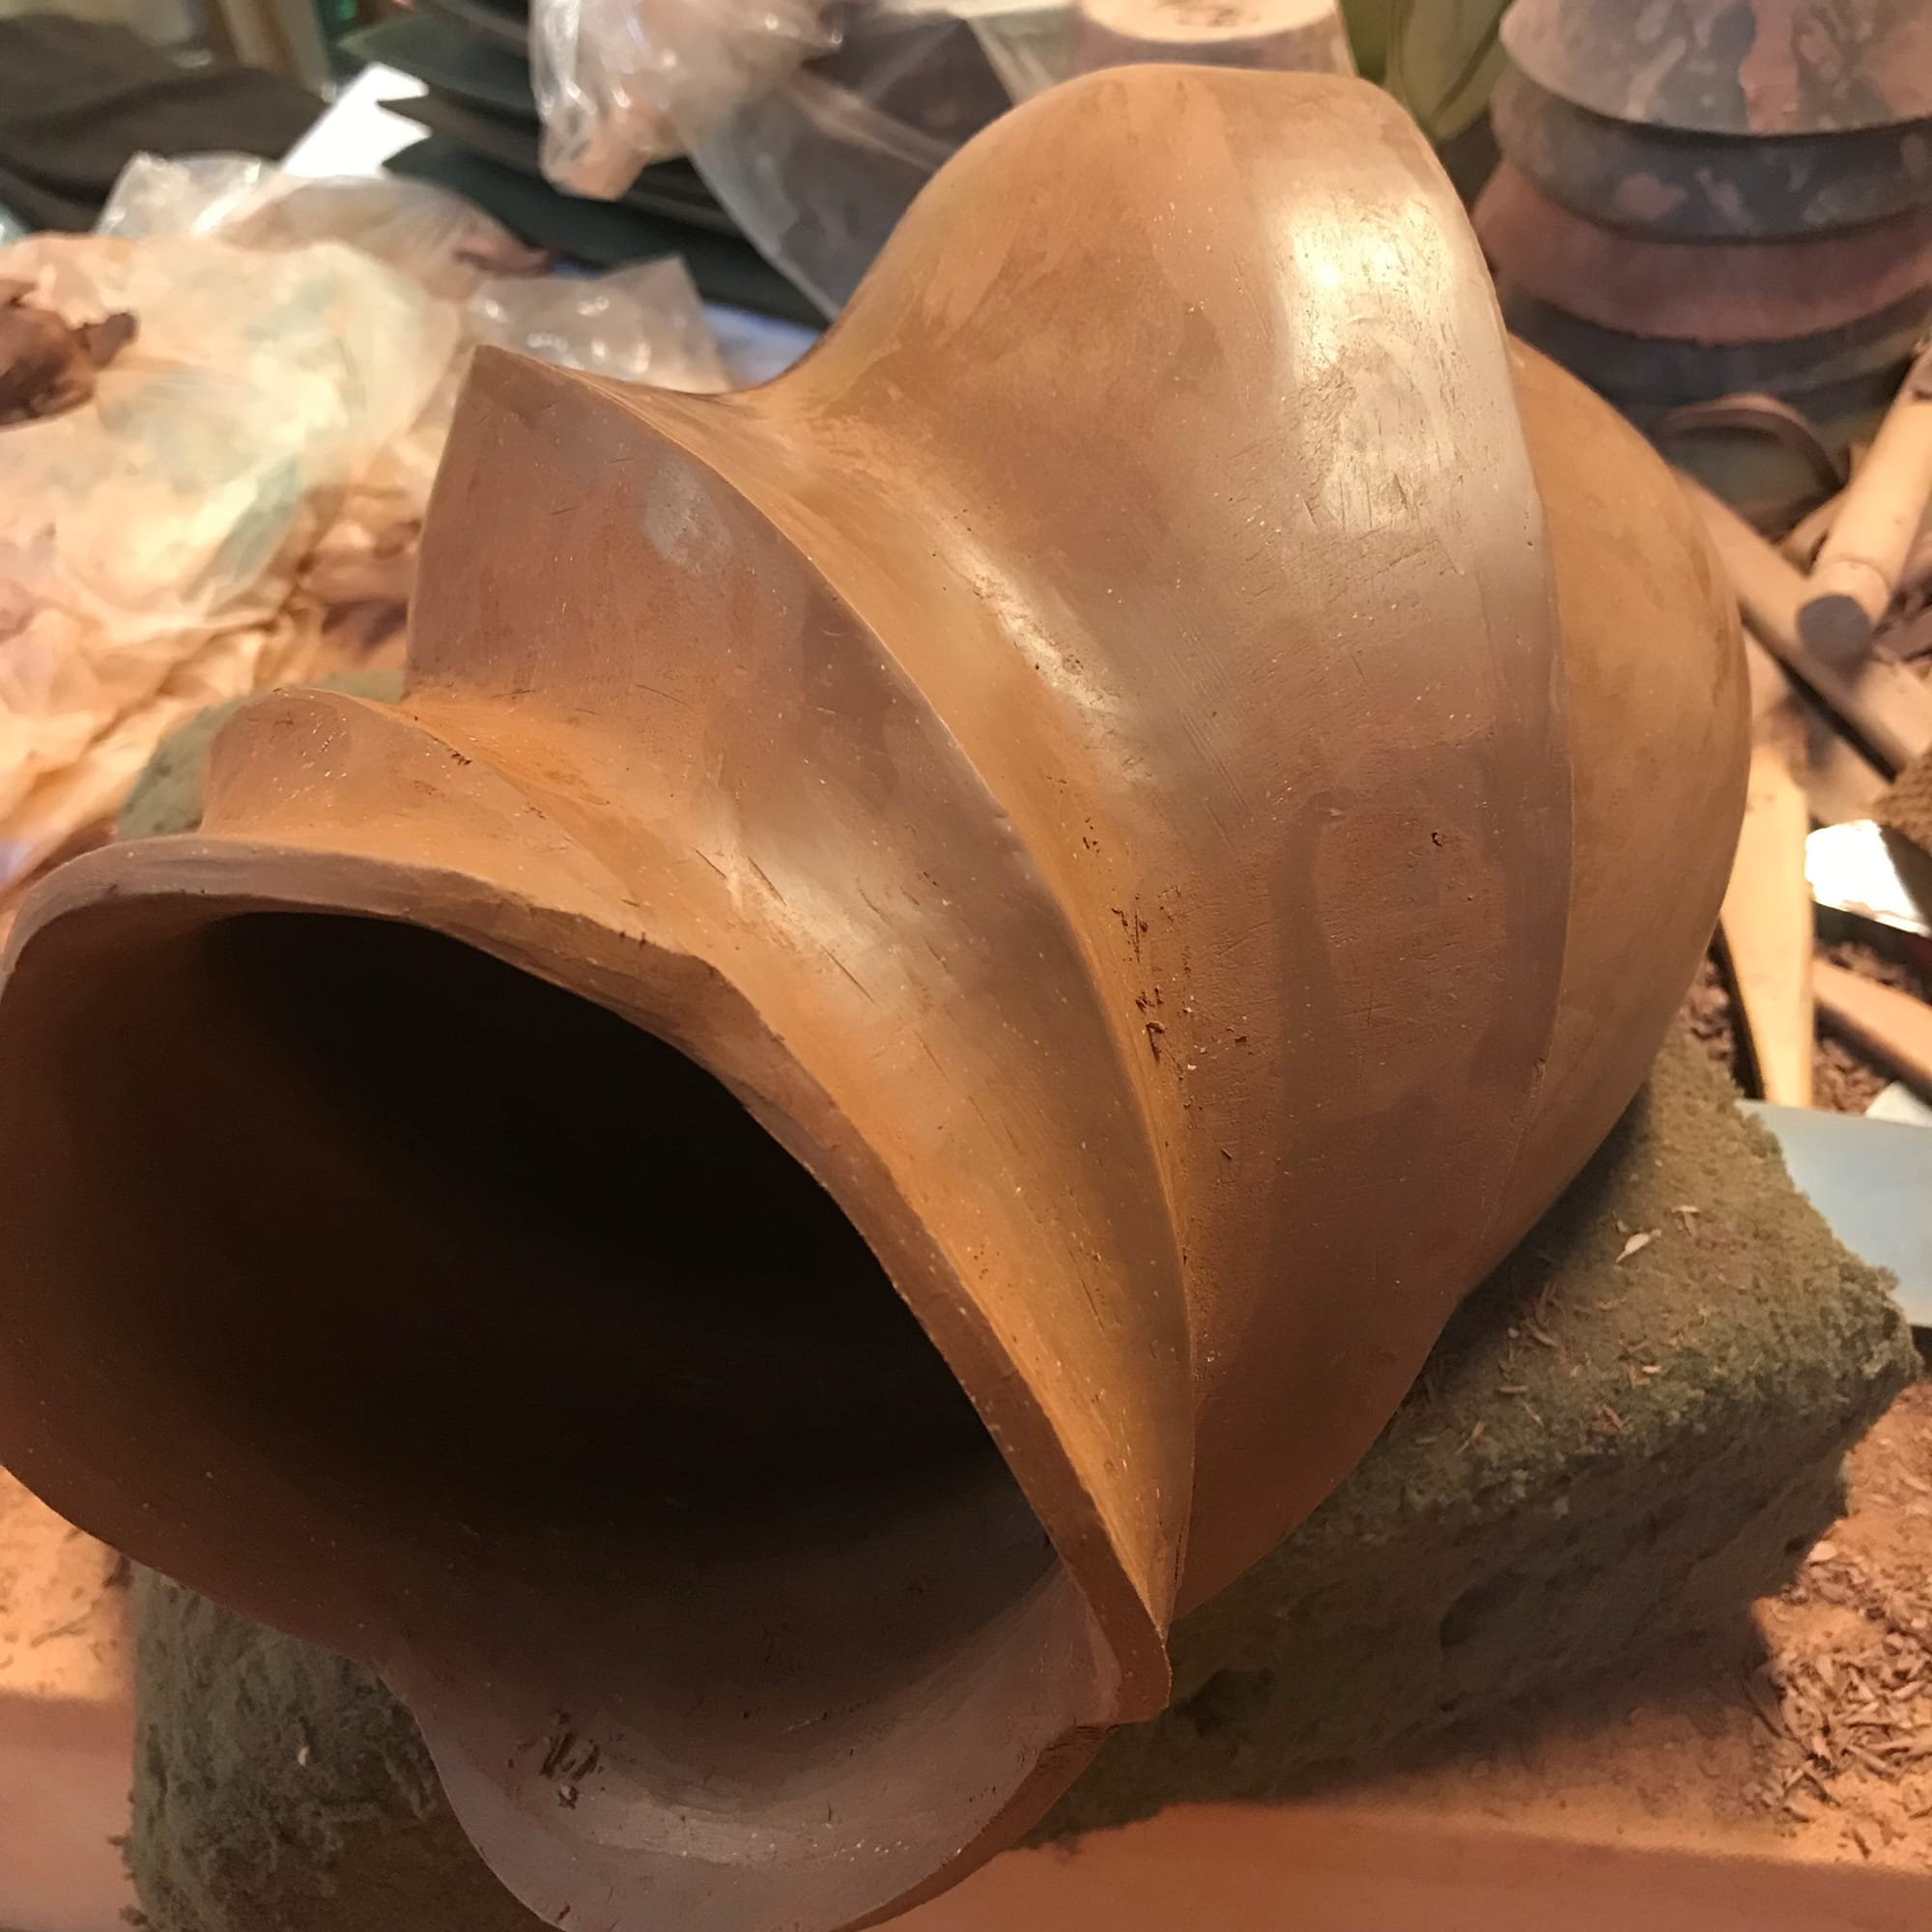
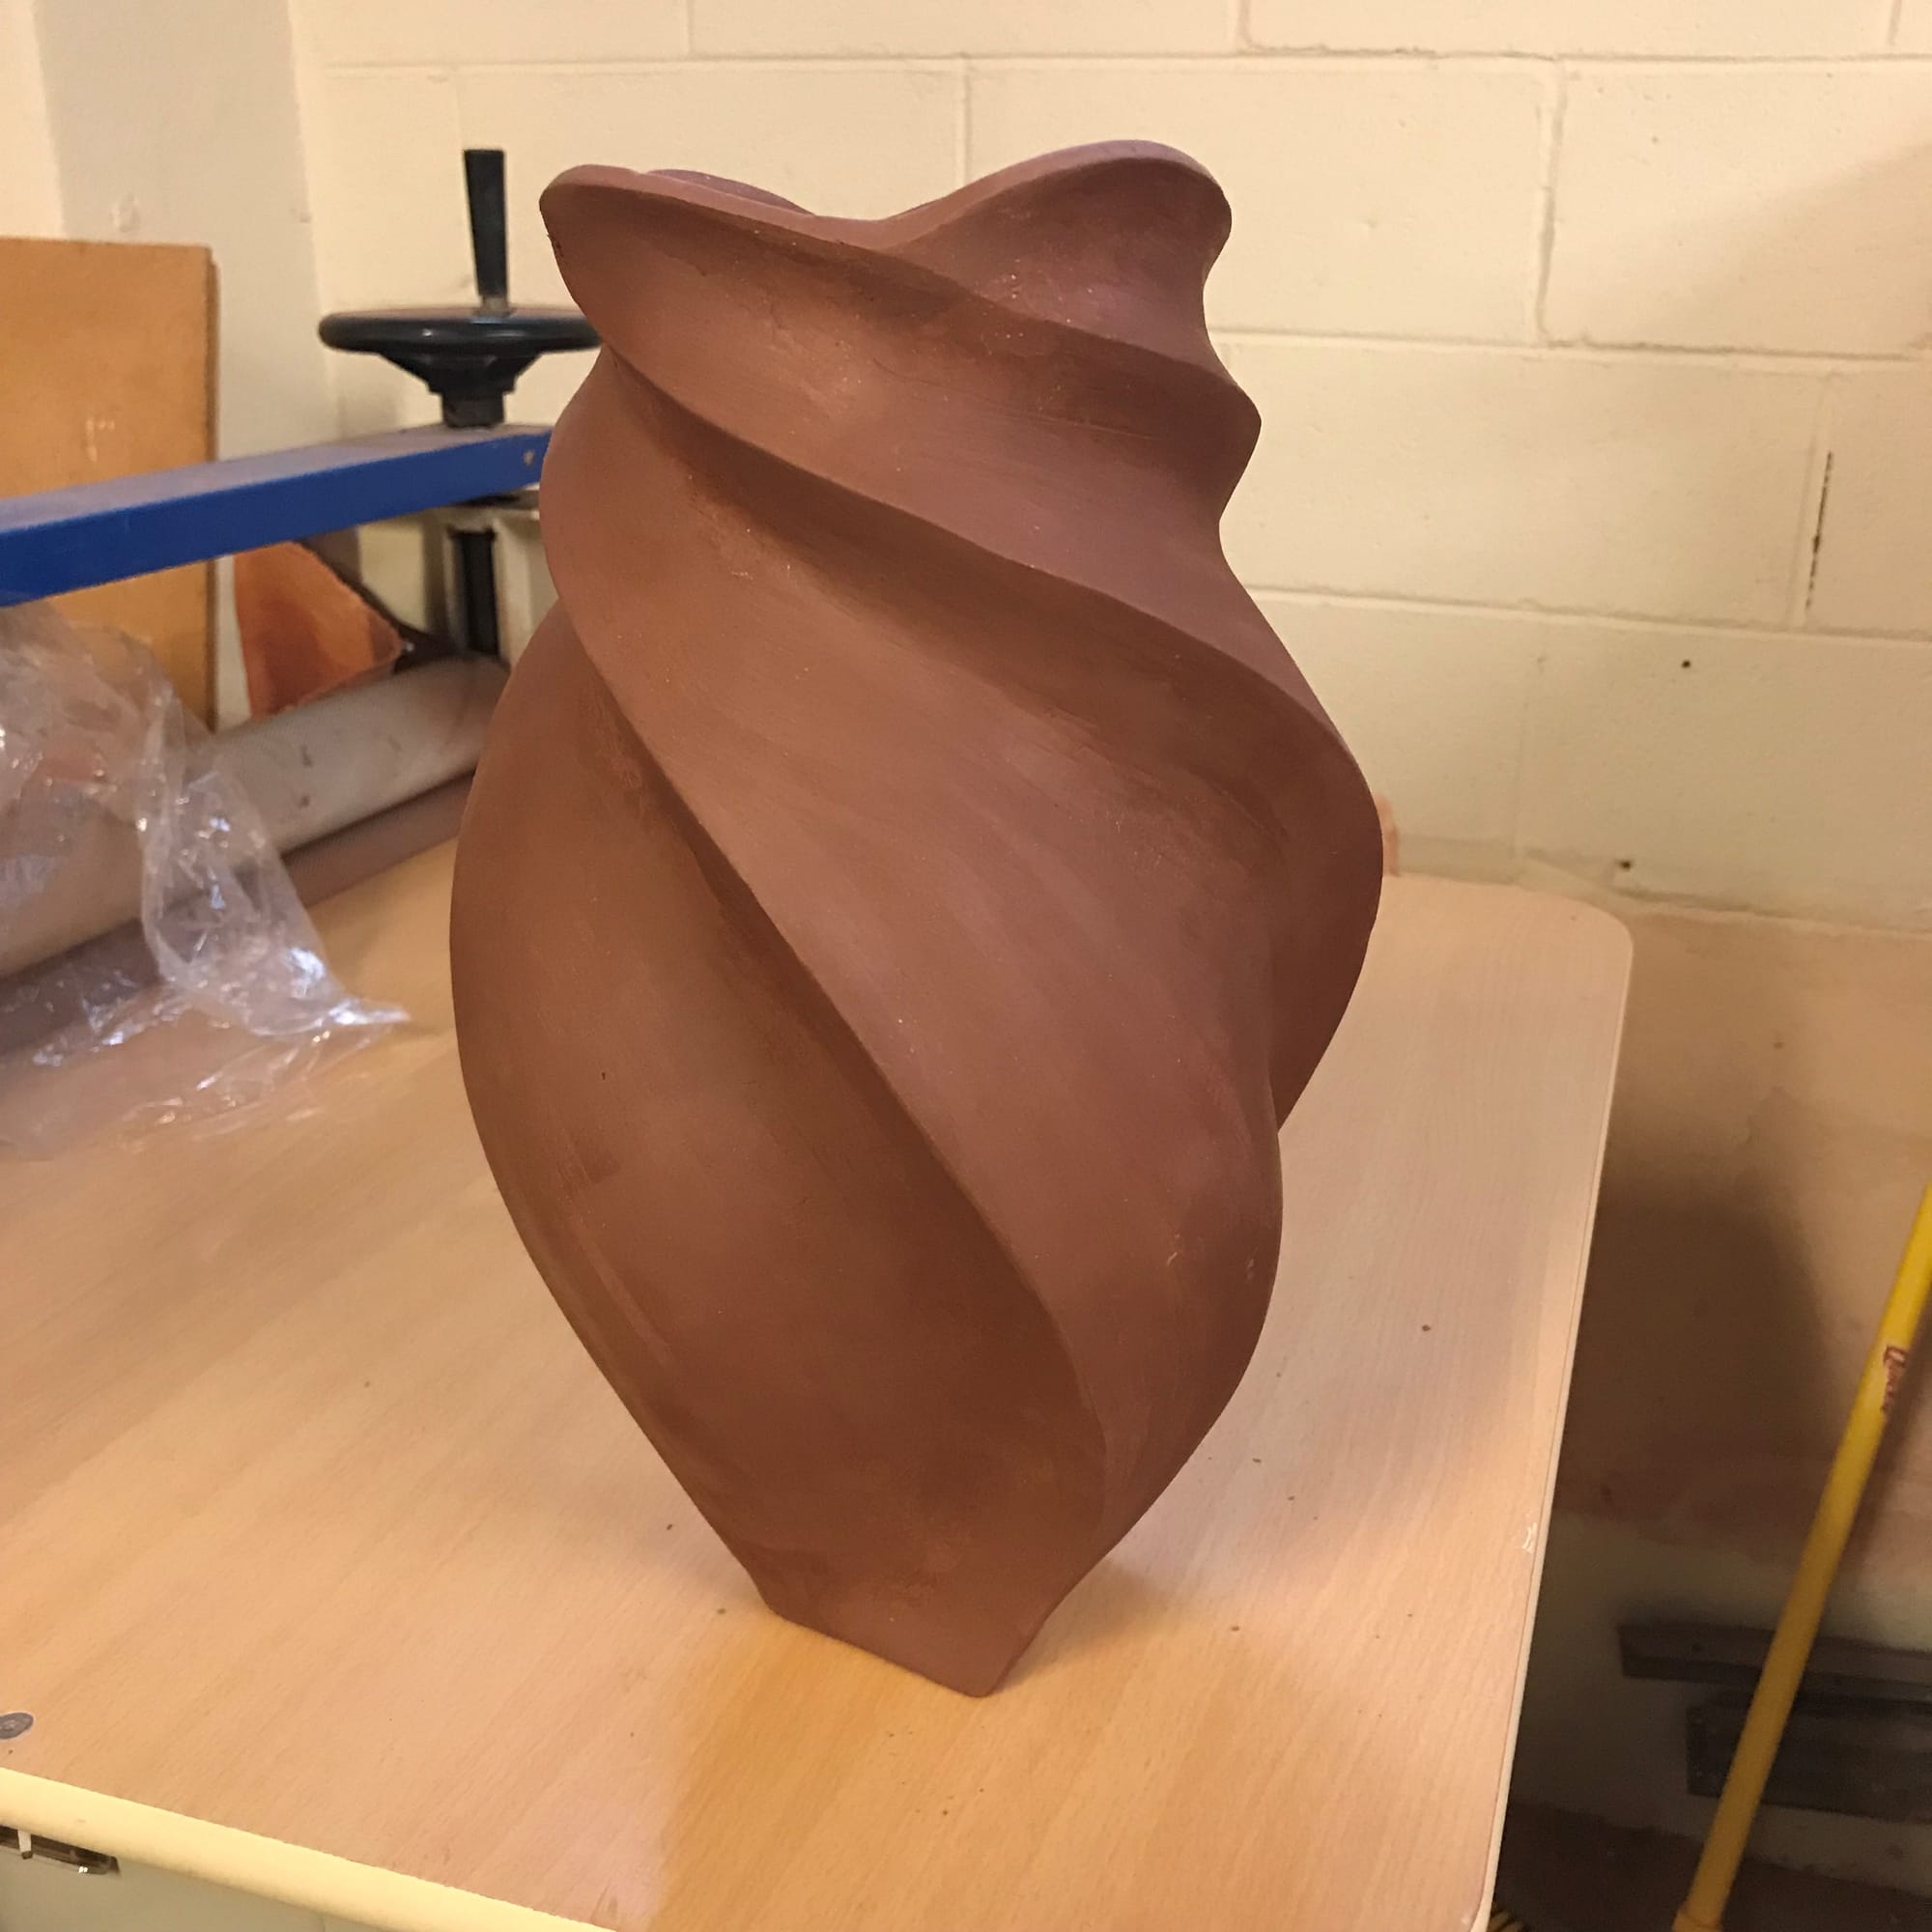
As shown in the next photo, I’ve worked on pulling out the rounded, bottom section. Also, I’ve put coils on the inside of the pot, as well as the outside, to fill in where the slabs were joined. In this picture it’s actually finished. I spend some time burnishing and compressing the joins to further ensure they don’t split when it’s fired.

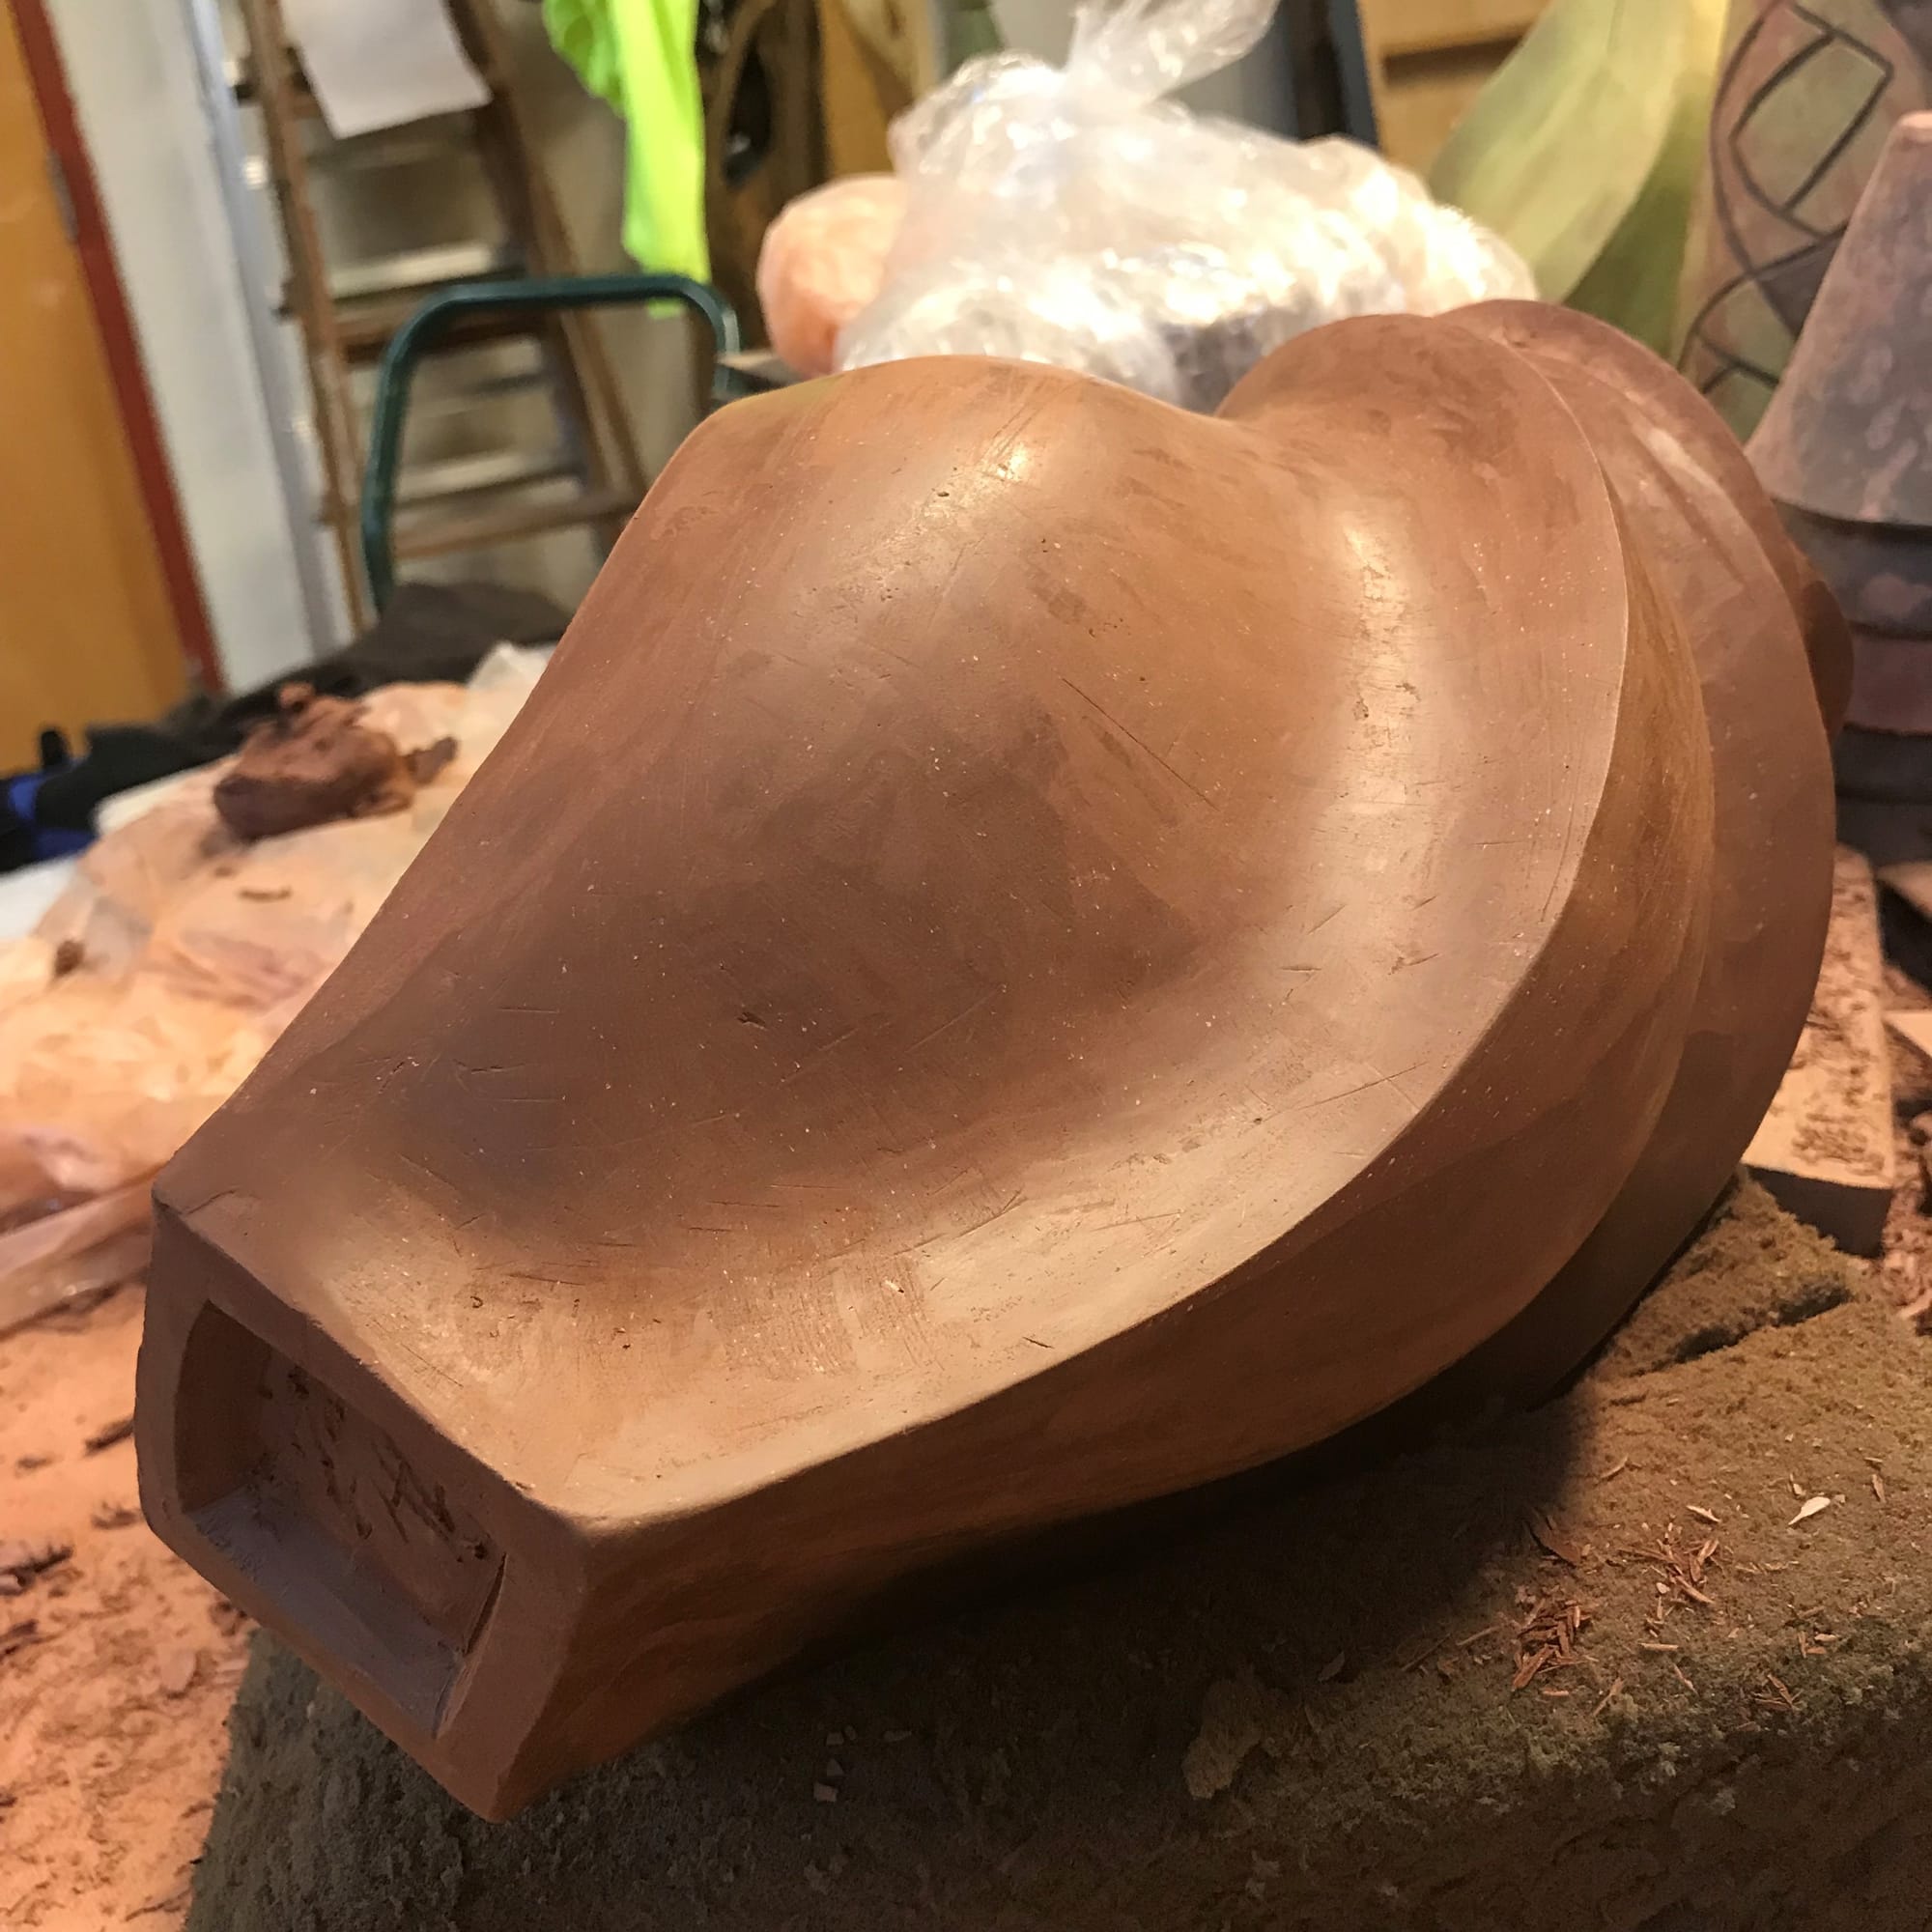
This photo shows the bottom. I will often put a recessed foot on a piece. I like the refined nature of it as well as it gives me some room if I have to level a piece off after it’s bone dry.
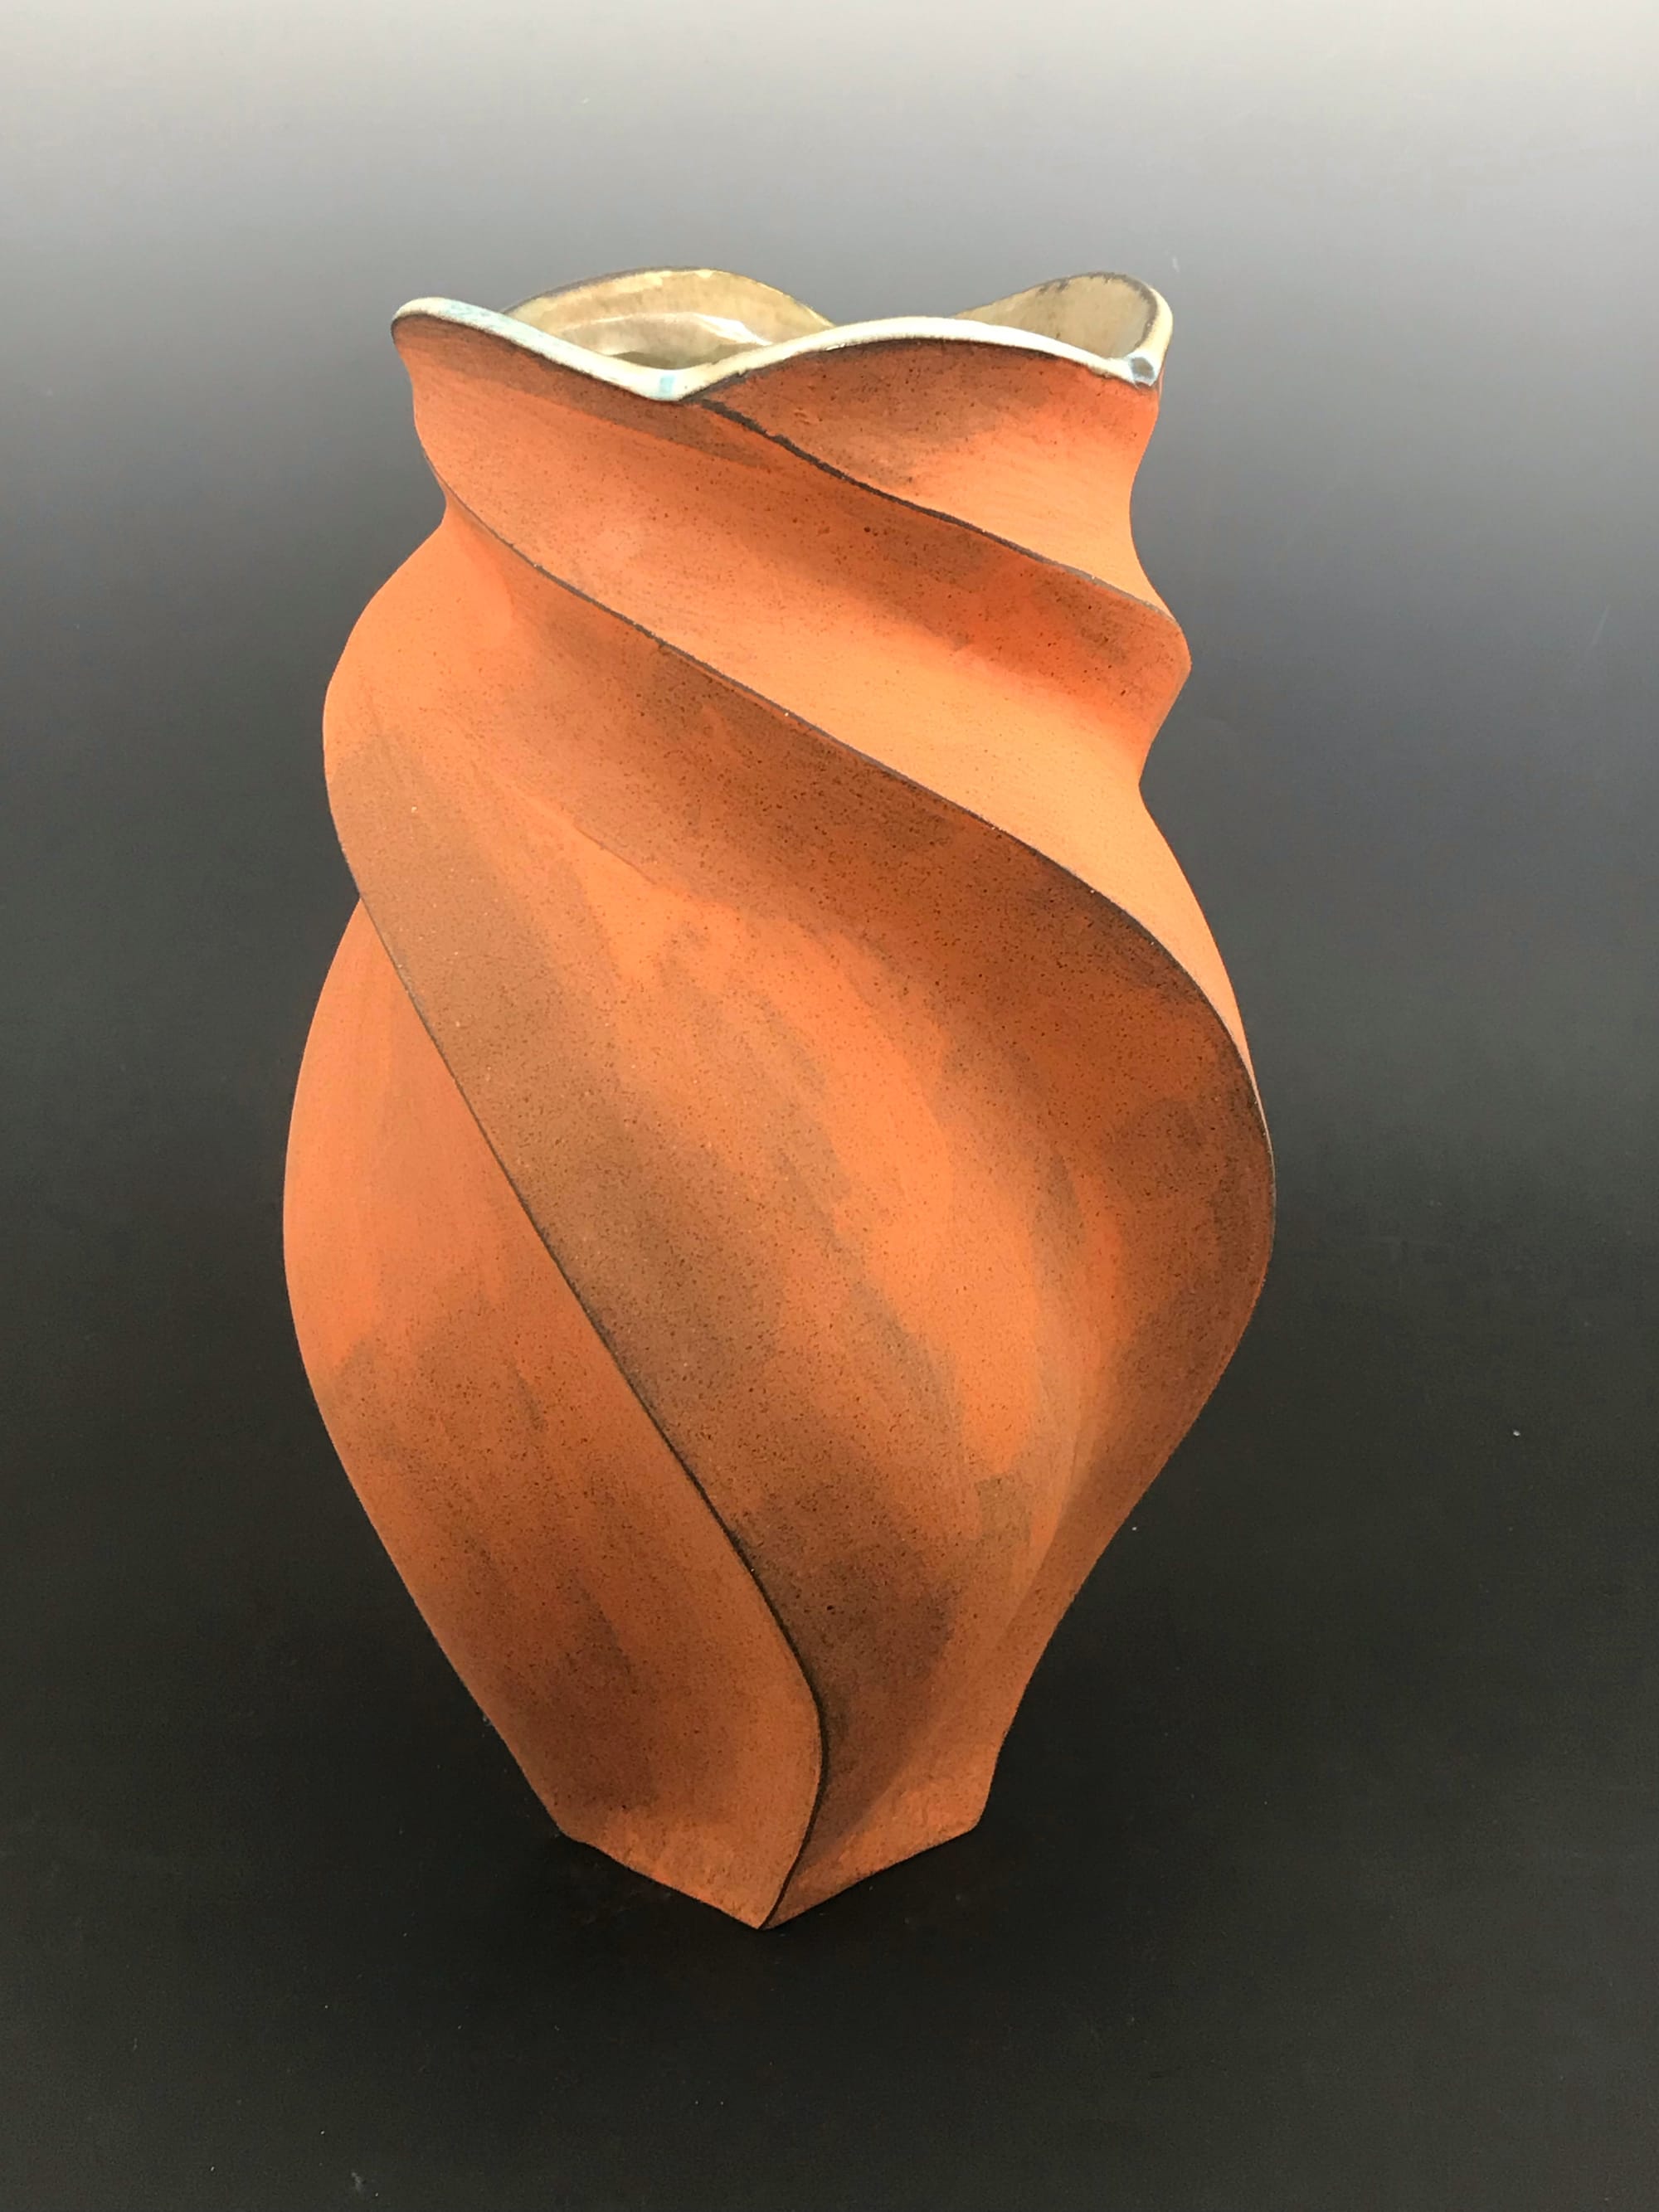
This is the piece before it dries. I check shadows and lines to make sure they’re clean and consistent. From forming to finishing, this piece took about 8 hours.
Here is the finished piece. I’ve been using matte, monochromatic finishes on the outside. I feel this really enhances the form. There’s no competition for the viewer’s attention. On the inside, I like a varied, glaze that’s shining and multi-faceted.